Advanced Liquid Package Solution
Any question?
Get in touch


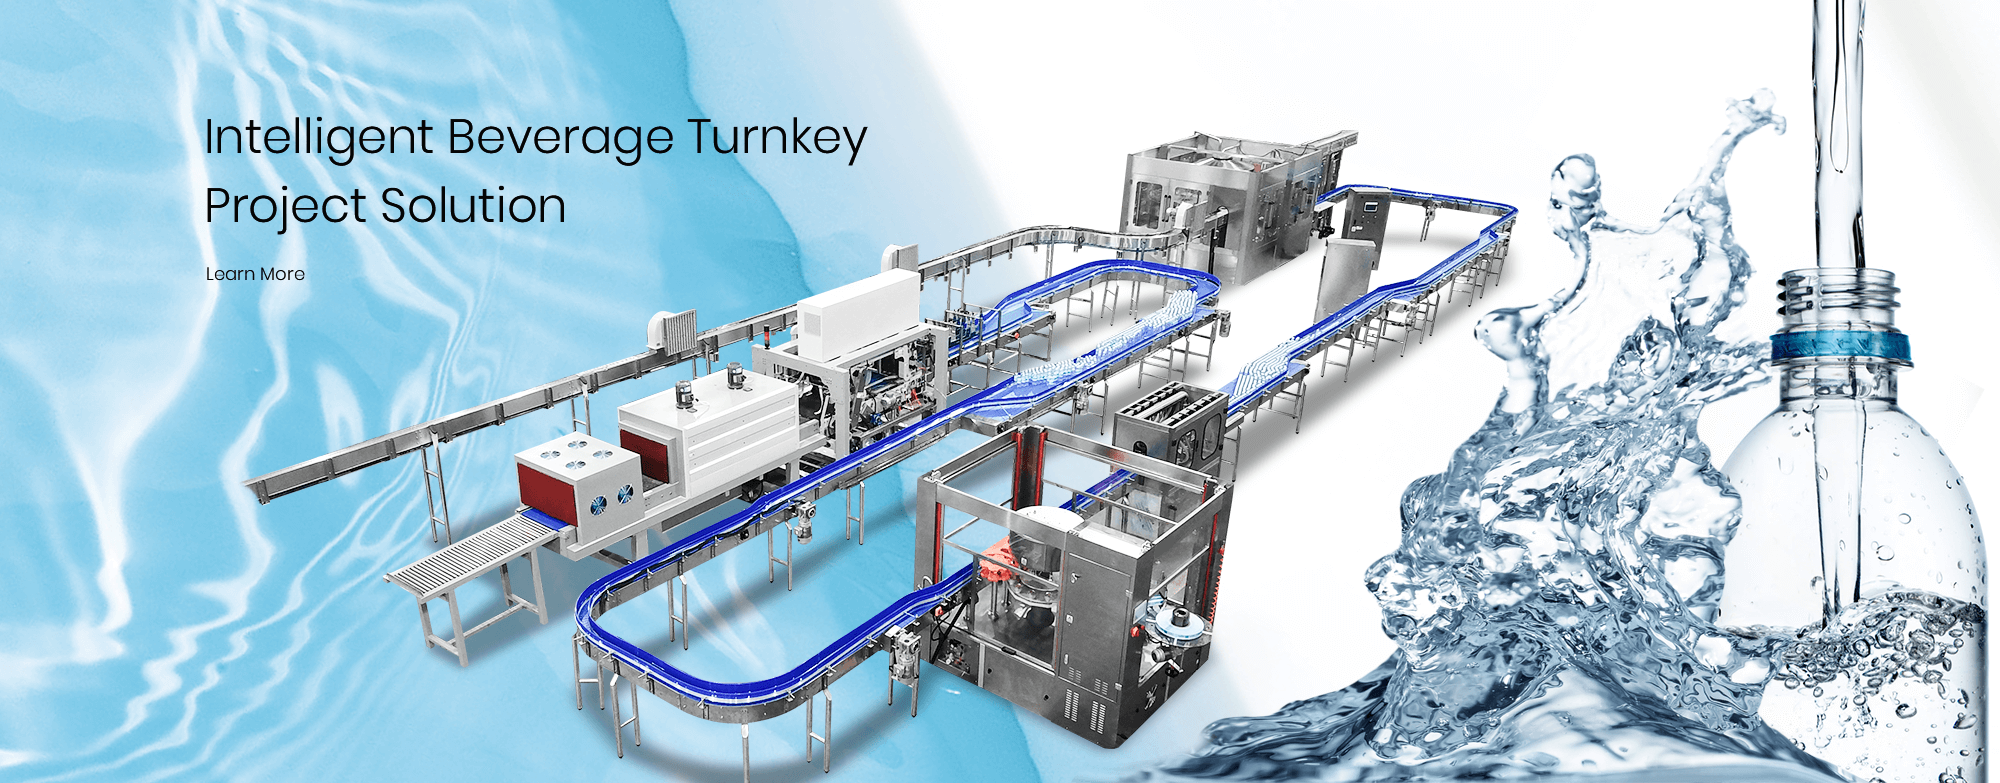
Bottle filling machines are essential in industries such as beverages, food processing, pharmaceuticals, and chemicals. They ensure efficient, accurate, and hygienic filling of liquids into containers. However, for small businesses, startups, or DIY enthusiasts, investing in a fully automated industrial system may not be practical at the early stage.
This is where building a simple bottle filling machine can be a cost-effective and educational solution. A basic manual or semi-automatic filling machine can handle small-scale production while helping you understand the mechanics behind industrial systems.
In this article, we will walk through how to make a bottle filling machine, covering the working principle, required components, assembly process, and key considerations for safe and effective operation.
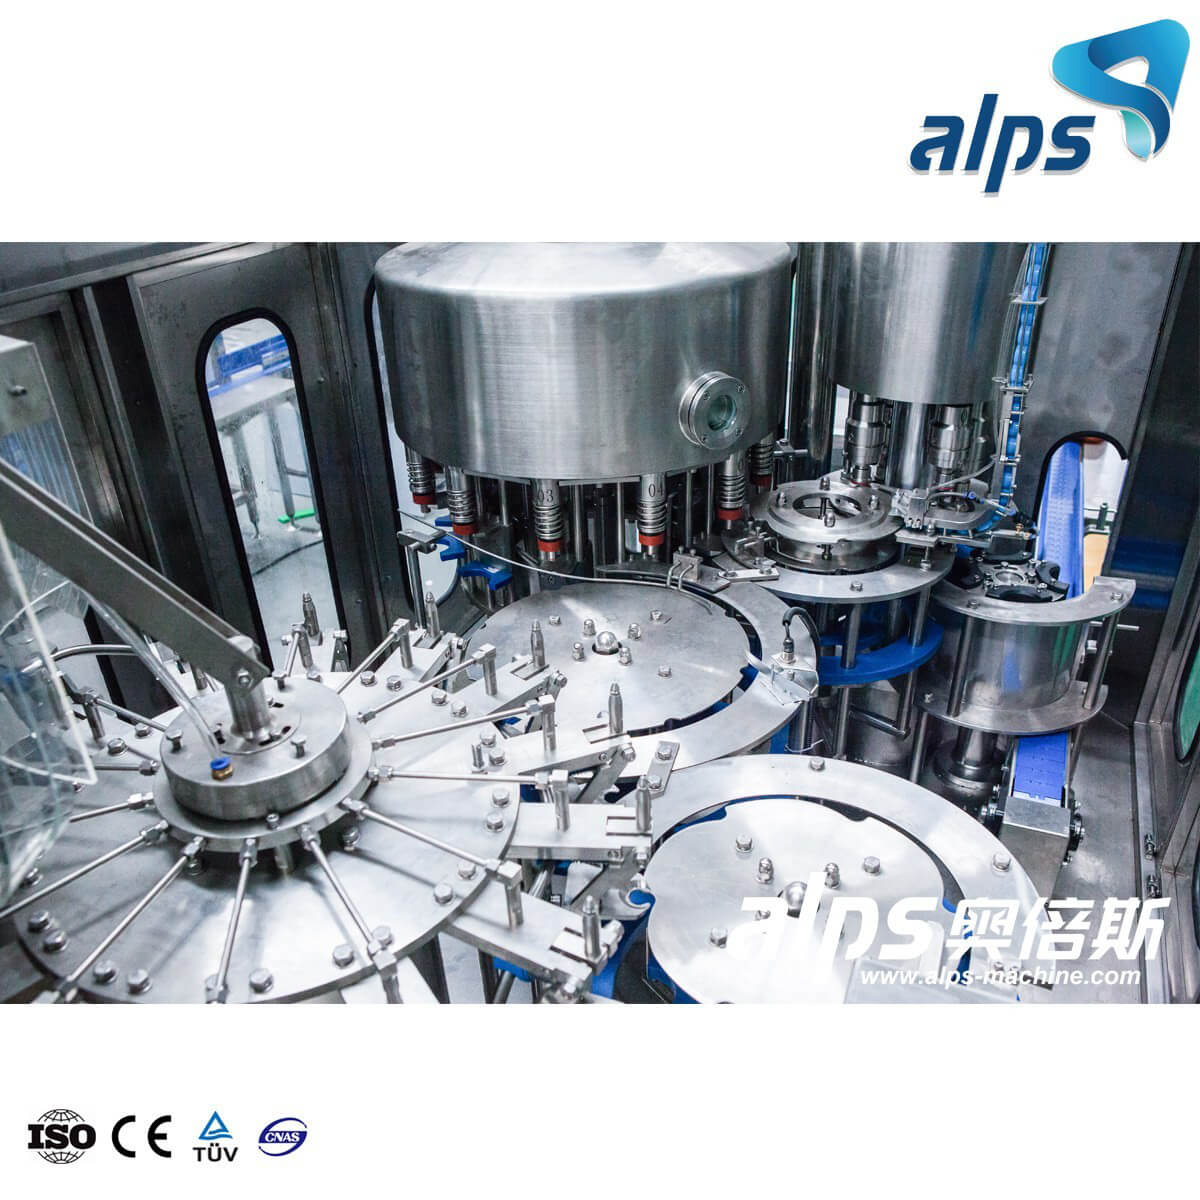
Before building a bottle filling machine, it is important to understand how it works. The core function is simple: transfer liquid from a storage container into bottles in a controlled and consistent manner.
Gravity Filling
This is the simplest method. Liquid flows from a tank positioned above the bottle using gravity. Flow is controlled by a valve.
Best for: Water and low-viscosity liquids.
Pump Filling
A pump pushes liquid from the tank into the bottle, allowing for more control and flexibility.
Best for: Medium-viscosity liquids such as juice or oil.
Time-Based Filling
Liquid is dispensed for a fixed amount of time. The volume depends on flow rate and duration.
Best for: Simple semi-automatic systems.
To achieve consistent performance, you must control:
Flow rate
Filling time
Pressure (if using a pump)
Nozzle positioning
Understanding these basics will help you design a machine that delivers consistent results.
A functional bottle filling machine consists of several core components. Even a simple system must include the following:
This holds the liquid before filling. It should be made of food-grade material if used for consumables.
These control how liquid enters the bottle. The number of nozzles determines how many bottles can be filled at once.
Pipes connect the tank to the nozzles. Valves regulate the flow and allow you to start or stop filling.
If gravity is not sufficient, a pump can be used to move liquid through the system.
A stable frame is needed to hold the tank, nozzles, and other components in place.
Depending on your design, this could be:
A manual valve (for manual machines)
A timer switch or controller (for semi-automatic machines)
To build your machine, you will need a combination of mechanical and basic electrical tools.
Stainless steel or food-grade plastic tank
PVC or stainless steel pipes
Ball valves or solenoid valves
Food-grade tubing
Nozzles
Metal frame materials (steel or aluminum)
Fasteners (bolts, nuts, screws)
Sealing materials (gaskets, Teflon tape)
Wrenches and spanners
Electric drill
Pipe cutter
Screwdrivers
Measuring tools
For semi-automatic machines:
Power supply
Timer relay
Switches
Wiring
Building a bottle filling machine requires careful assembly to ensure proper function and safety.
Construct a sturdy frame to support the tank and filling system. Ensure:
The structure is stable
The height allows bottles to fit under the nozzles
The tank is positioned above the nozzles (for gravity systems)
Mount the tank securely on the frame. Connect pipes from the tank outlet to the filling area.
Use proper fittings to prevent leaks
Apply Teflon tape for sealing
Install nozzles at the end of the piping system.
Ensure they are aligned with bottle positions
Adjust spacing based on bottle size
If using a pump:
Install it between the tank and the nozzles
Ensure proper electrical connection
If using gravity:
Install manual or automatic valves to control flow
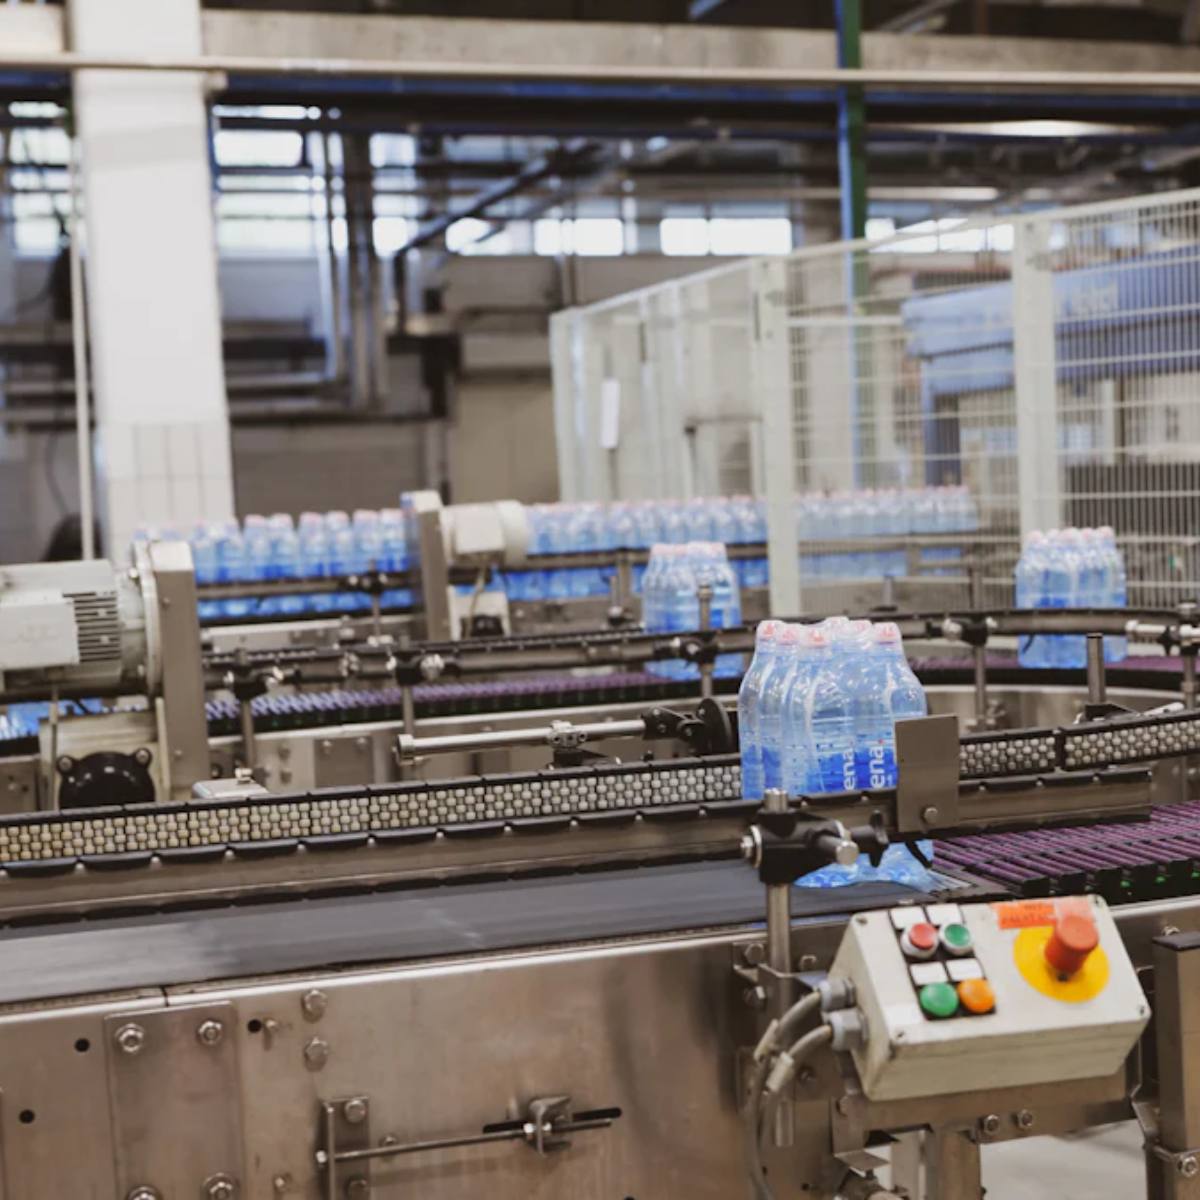
For manual machines:
Use hand-operated valves
For semi-automatic machines:
Install a timer switch or foot pedal
Connect solenoid valves for automated control
Before actual use:
Fill the tank with water
Run the system
Check for leaks, uneven flow, or blockages
Make necessary adjustments until the system operates smoothly.
Once the machine is assembled, proper calibration is essential to achieve consistent filling.
You can control volume by:
Adjusting valve opening time
Regulating flow rate
Test multiple filling cycles and measure output. Ensure each bottle receives the same amount of liquid.
Always use water during initial testing. This avoids wasting product and makes cleanup easier.
Ensure the nozzle is:
Centered over the bottle
At the correct height to avoid splashing
Too fast:
Causes splashing and foam
Too slow:
Reduces efficiency
Adjust until you find the optimal balance.
Safety and cleanliness are critical, especially for food and beverage applications.
Ensure all parts in contact with liquid are safe for consumption.
Clean all components before use
Avoid exposure to dust and debris
Electrical Safety
If your system includes electrical components:
Ensure grounding
Avoid water contact with electrical parts
Tighten all connections
Use proper sealing materials
While a DIY bottle filling machine can be useful, it has limitations.
Lower accuracy compared to industrial machines
Slower production speed
Limited scalability
More manual labor required
Consider upgrading to a commercial machine if:
Your production volume increases
You need higher precision
You require automation and efficiency
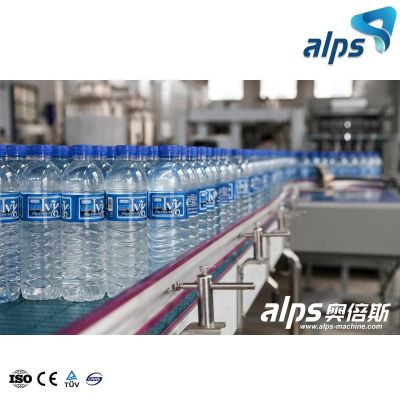
DIY machines are cost-effective initially, but industrial machines offer:
Higher productivity
Better consistency
Lower long-term labor costs
Building a bottle filling machine is a practical and rewarding project for small-scale production or learning purposes. By understanding the working principles, selecting the right components, and carefully assembling and calibrating the system, you can create a functional and efficient filling solution.
However, it is important to recognize the limitations of DIY systems and plan for future upgrades as your production needs grow. Whether you are starting a small business or exploring industrial processes, a well-built bottle filling machine can serve as a strong foundation for your operations.
")

")


By continuing to use the site you agree to our privacy policy Terms and Conditions.