Advanced Liquid Package Solution
Any question?
Get in touch


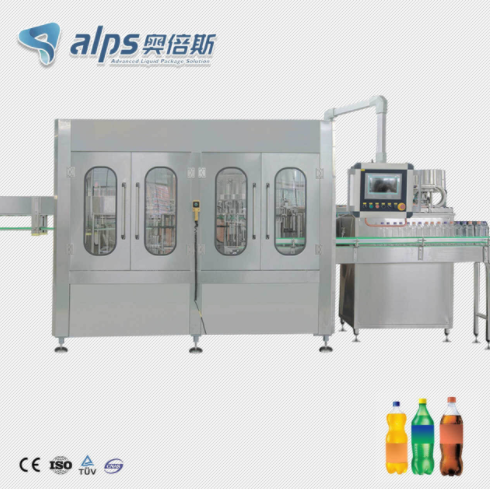
Maintaining proper hygiene is critical in any beverage production process, and this is especially true when using a manual beverage filling machine. Unlike fully automated systems that may include built-in cleaning functions, manual machines rely heavily on consistent and thorough cleaning practices to ensure product safety and equipment longevity.
Failure to clean a filling machine properly can lead to serious issues such as microbial contamination, off-flavors, reduced shelf life, and even equipment corrosion or failure. Whether you are filling water, juice, carbonated drinks, or other beverages, maintaining a strict cleaning routine is essential.
In this guide, we will walk you through how to clean a manual beverage filling machine step by step, along with best practices to maintain hygiene and extend the lifespan of your equipment.
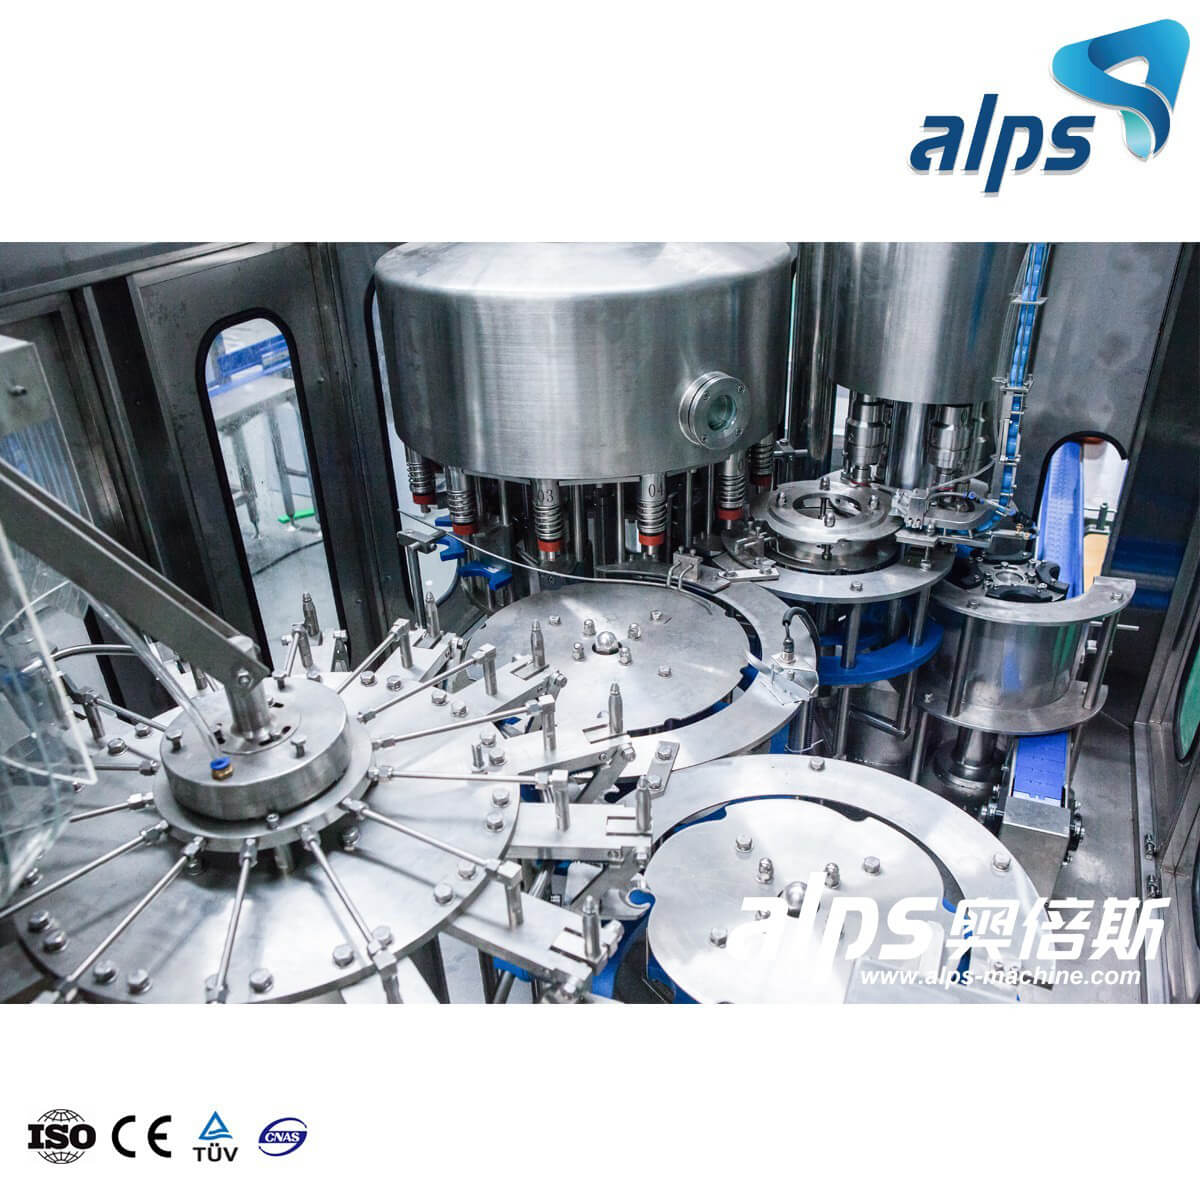
Before starting the cleaning process, it is important to understand the structure and components of your manual beverage filling machine. This will help ensure that no critical parts are overlooked during cleaning.
Typical components include:
Filling nozzles: Where the liquid is dispensed into bottles
Hopper or tank: Holds the beverage before filling
Pipes and tubing: Transport liquid from the tank to the nozzles
Valves and seals: Control flow and prevent leaks
Frame and outer surfaces: Structural support
Most machines are made from food-grade stainless steel (such as SUS304 or SUS316) and sometimes include plastic or rubber components like gaskets and seals.
Each of these parts may require slightly different cleaning methods. For example, nozzles and valves often need more detailed scrubbing, while tanks may require soaking and rinsing.
Proper preparation is essential to ensure safe and effective cleaning.
Always start by powering off the machine and disconnecting it from any electrical or pneumatic sources. This prevents accidents and ensures operator safety.
Empty all remaining beverage from the tank and pipelines. Leftover liquid can harbor bacteria and make cleaning more difficult.
Prepare the necessary cleaning supplies:
Warm water
Food-grade detergent
Food-safe sanitizer
Soft brushes (various sizes)
Clean cloths or sponges
Buckets or containers
Avoid using abrasive materials that could damage the machine surface.
Depending on your cleaning agents, wear:
Gloves
Safety glasses
Aprons
This protects you from chemicals and contamination.
A systematic approach ensures that every part of the machine is properly cleaned and sanitized.
Carefully remove all detachable components, including:
Filling nozzles
Tubes and hoses
Valves and connectors
Disassembly allows for deeper cleaning and prevents hidden contamination.
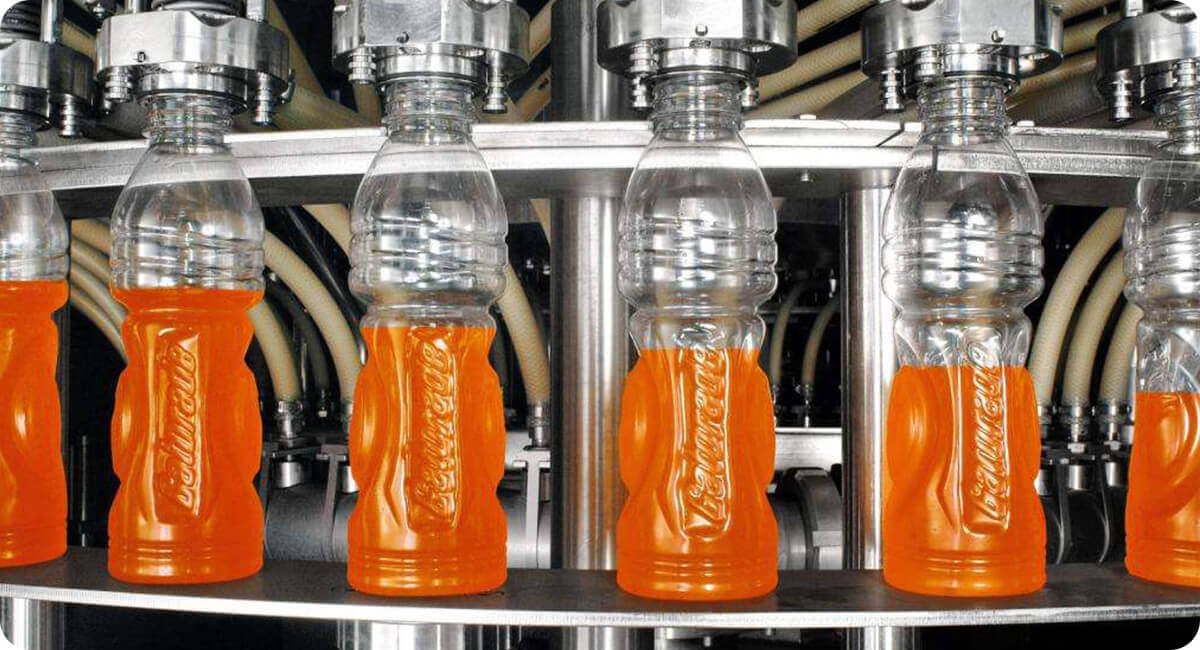
Rinse all parts with warm water to remove visible residues such as sugar, pulp, or carbonation deposits. This initial rinse helps prevent dirt from spreading during washing.
Prepare a solution of warm water and food-grade detergent. Submerge removable parts and use a cloth or sponge to clean larger surfaces like tanks.
For internal pipelines, you may flush the solution through the system if possible.
Use appropriate brushes to clean:
Inside filling nozzles
Valve openings
Corners and joints
Seals and gaskets
Pay special attention to areas where liquid tends to accumulate, as these are hotspots for bacterial growth.
After cleaning, rinse all components thoroughly with clean water to remove any detergent residue. Residual chemicals can contaminate your beverages and affect taste.
Apply a food-safe sanitizer to all parts. This step is crucial for eliminating microorganisms that are not removed during washing.
Follow the manufacturer’s instructions for contact time to ensure effectiveness.
Allow all components to air dry completely or use clean, lint-free cloths. Avoid reassembling while parts are still wet, as moisture can promote bacterial growth.
Once dry, carefully reassemble the machine and ensure all connections are secure.
Establishing a regular cleaning schedule is essential for maintaining hygiene and consistent performance.
Clean the machine after each production shift
Essential for all beverage types
Disassemble all parts
Perform detailed cleaning and sanitation
Switching between different beverages (e.g., from juice to water) requires thorough cleaning to avoid cross-contamination.
Keep records of cleaning activities, including:
Date and time
Personnel responsible
Cleaning procedures performed
This helps ensure accountability and compliance with food safety standards.
Even experienced operators can make mistakes that compromise cleaning effectiveness.
Using Harsh Chemicals
Avoid strong acids or corrosive cleaners that can damage stainless steel and seals.
Incomplete Rinsing
Failing to rinse thoroughly can leave chemical residues that affect product quality and safety.
Ignoring Small Components
Valves, seals, and connectors are often overlooked but are critical areas for contamination.
Reassembling While Wet
Moisture trapped inside the machine can lead to microbial growth.
Inconsistent Cleaning Schedule
Skipping regular cleaning increases the risk of buildup and contamination.
6. Tips to Extend Machine Lifespan and Hygiene
Proper cleaning not only ensures hygiene but also extends the life of your equipment.
Regular Inspection
Check components such as:
Seals and gaskets
Valves
Tubing
Replace worn parts promptly.
Proper Drying and Storage
Ensure all parts are completely dry before storage. Store the machine in a clean, dust-free environment.
Lubrication
If your machine has moving parts, apply food-grade lubricants as recommended by the manufacturer.
Use Clean Water
Always use filtered or clean water for rinsing to avoid introducing contaminants.
Train Operators
Ensure all staff are trained in proper cleaning procedures to maintain consistency.
Cleaning a manual beverage filling machine is a critical task that directly impacts product quality, consumer safety, and equipment durability. By following a structured cleaning process—preparation, disassembly, washing, rinsing, sanitizing, and proper reassembly—you can maintain high hygiene standards and ensure smooth operation.
Consistency is key. Establishing a regular cleaning schedule and avoiding common mistakes will help you prevent contamination issues and extend the lifespan of your machine. Whether you are running a small beverage business or scaling up production, proper cleaning practices are an investment in both quality and efficiency.
By implementing these best practices, you can ensure that your manual beverage filling machine continues to deliver safe, reliable, and high-quality performance over the long term.
")
")
")
")


By continuing to use the site you agree to our privacy policy Terms and Conditions.